Dabba Mainnet is going live!
This marks a major milestone for the network — moving from simulation to a fully functional, onchain ecosystem where participants can onboard, interact, and start earning in real time.
As you get started, one of the most important things to verify is the official DBT token contract address:
DBTNHU51SBFi3dsoGGCRfKbno4teZXqsDSL37s4jgRKv
Always double-check this before interacting with any platform. Using the correct contract address helps you avoid scams, verify authenticity, and ensure you’re interacting with the official Dabba token.
Getting Started With Dabba Mainnet
Before you begin, make sure you have the following:
- A Non-Custodial On-Chain Wallet
You’ll need a wallet like Phantom to interact with the Dabba Mainnet.
If you’re new to Solana wallets or don’t have one yet, refer to our detailed setup guide:
Wallet Setup Guide
- Onboarded Hotspots
To make sure your hotspots are eligible for mainnet rewards, it is mandatory to complete KYC and onboard your hotspots.
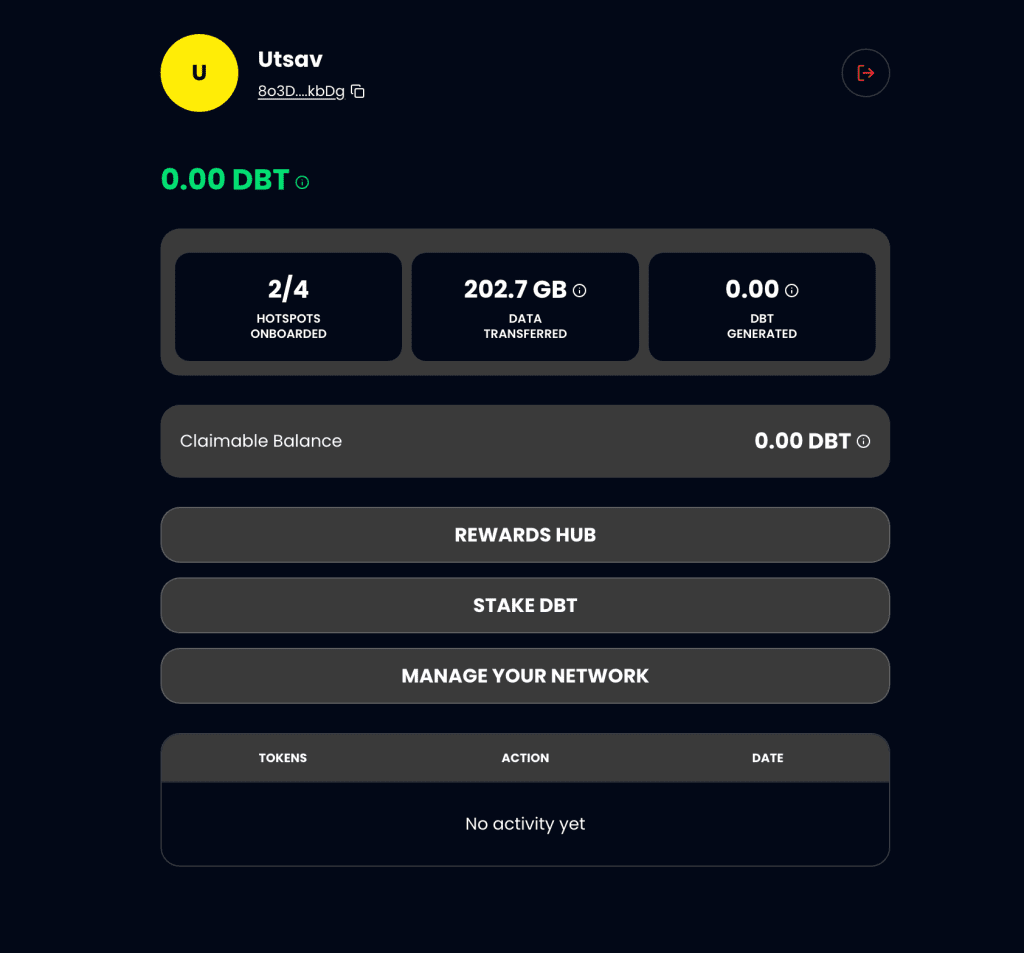
You can login to your Network Explorer Dashboard with your registered email and check if you have all your hotspots onboarded.
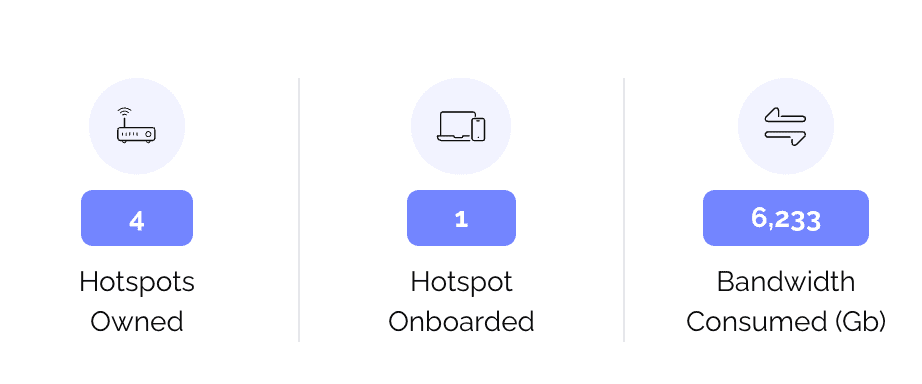
In this example you see a user has 4 hotspots but only 1 of them is onboarded.
Visit: onboarding.dabba.network to onboard your hotspots now!
How Mainnet Rewards Are Calculated
In Year 1, mainnet rewards are distributed equally across all active hotspots.
An active hotspot is defined as any connection on the network with a live subscription.
Example:
→ Daily Mainnet Unlock: 1,643,835 DBT
→ Total Active Devices (assumed): 100,000
This means:
DBT per hotspot = 1,643,835 ÷ 100,000 = 16.4 DBT
So, each active hotspot earns approximately 16.4 DBT per epoch.
Note: 1 epoch = 24 hours
Dabba Mainnet: Step-by-Step Guide
Now let’s get started with how to navigate the Dabba Mainnet Portal:
Step 1
Visit the Dabba Mainnet portal: token.dabba.network
Step 2
Click on “Connect Wallet”

Step 3
If you’re using a browser wallet extension, it will be automatically detected (e.g., Phantom).
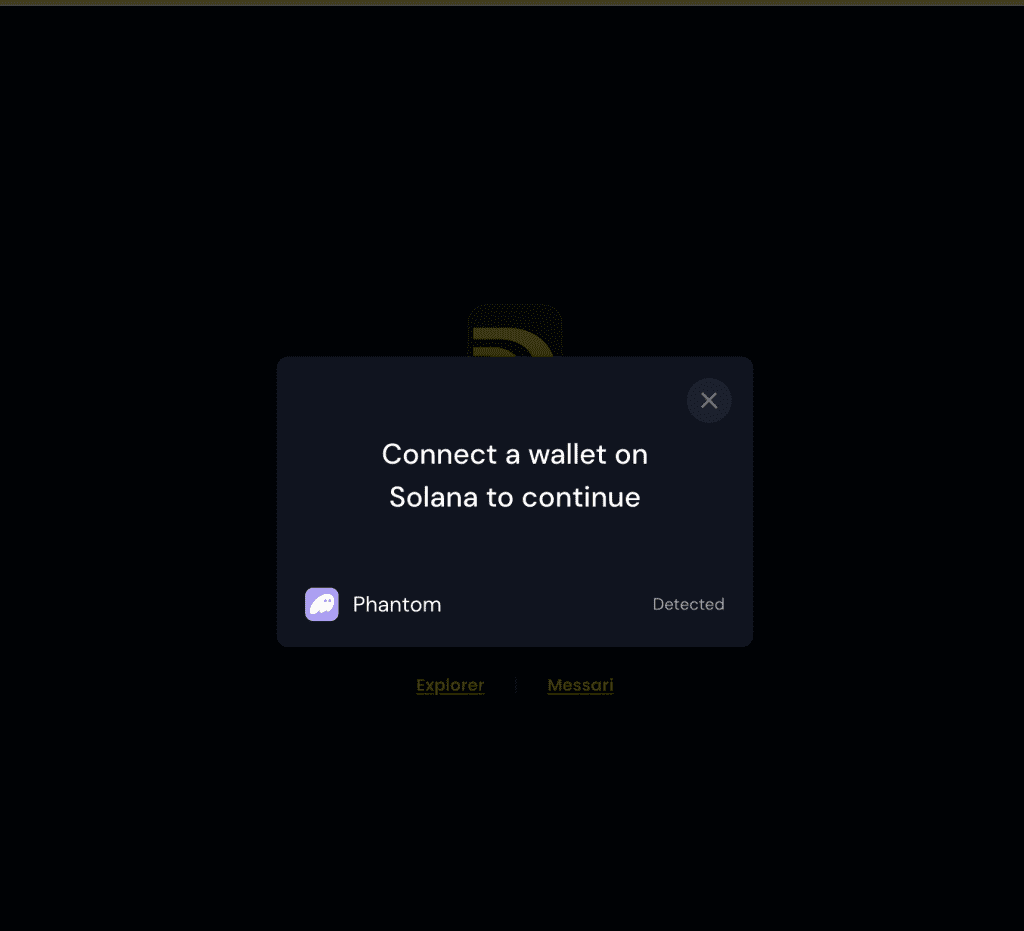
Step 4
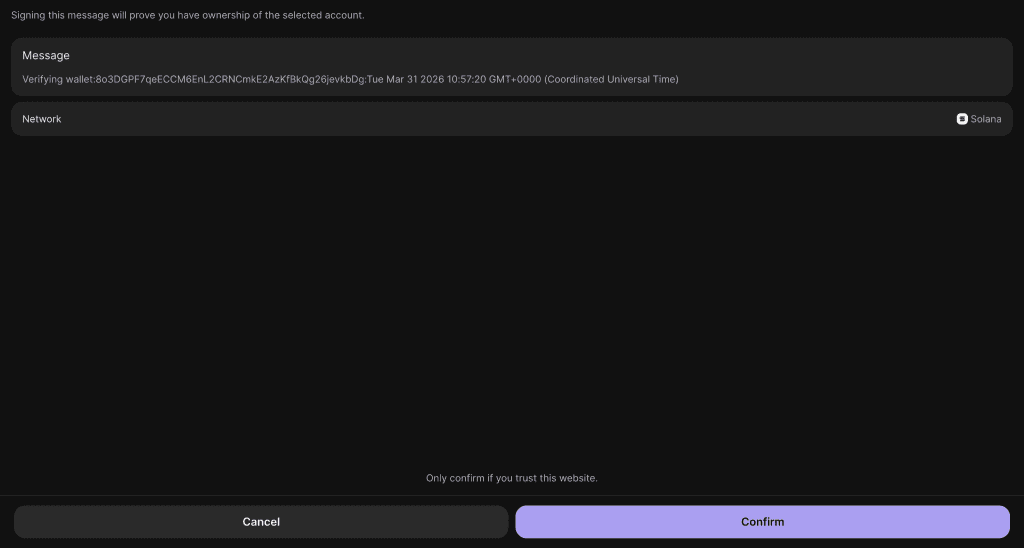
Select your wallet (Phantom in this case). You’ll be redirected to a new tab to unlock your wallet using your password.
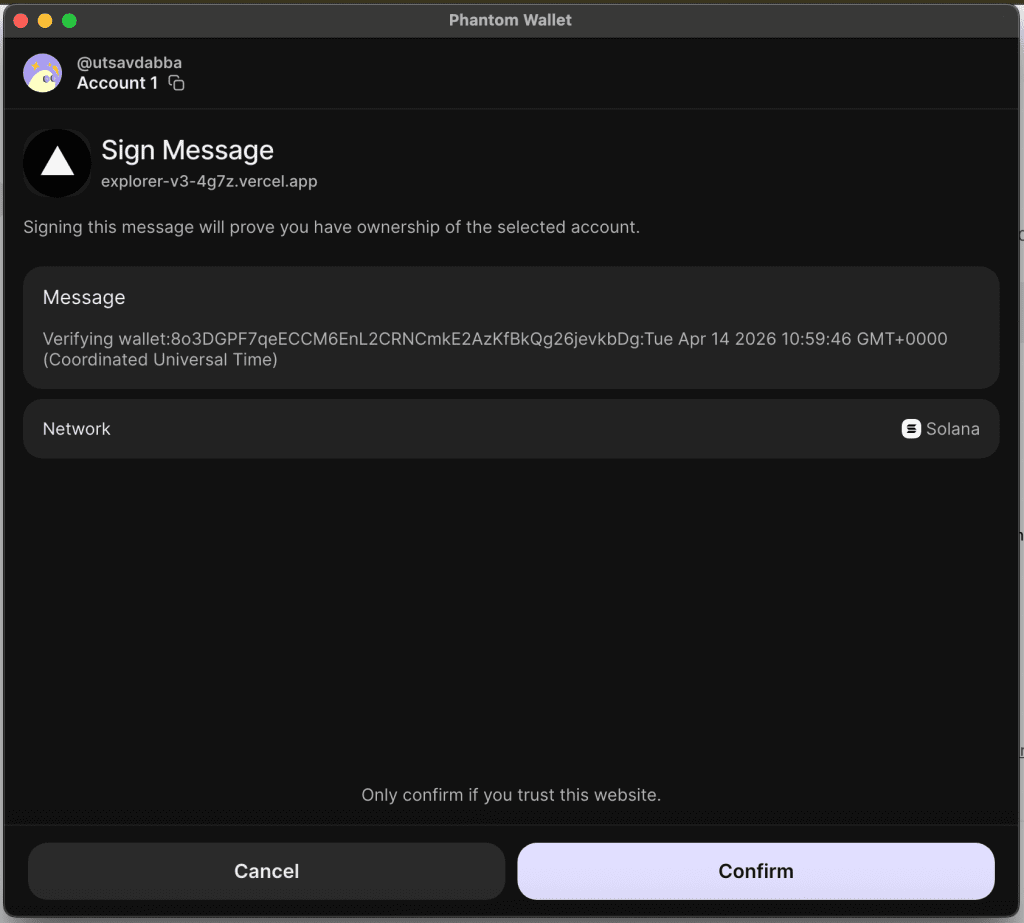
Once unlocked, click “Connect” to approve the connection.
Step 5
After connecting your wallet, log in using your registered email address.
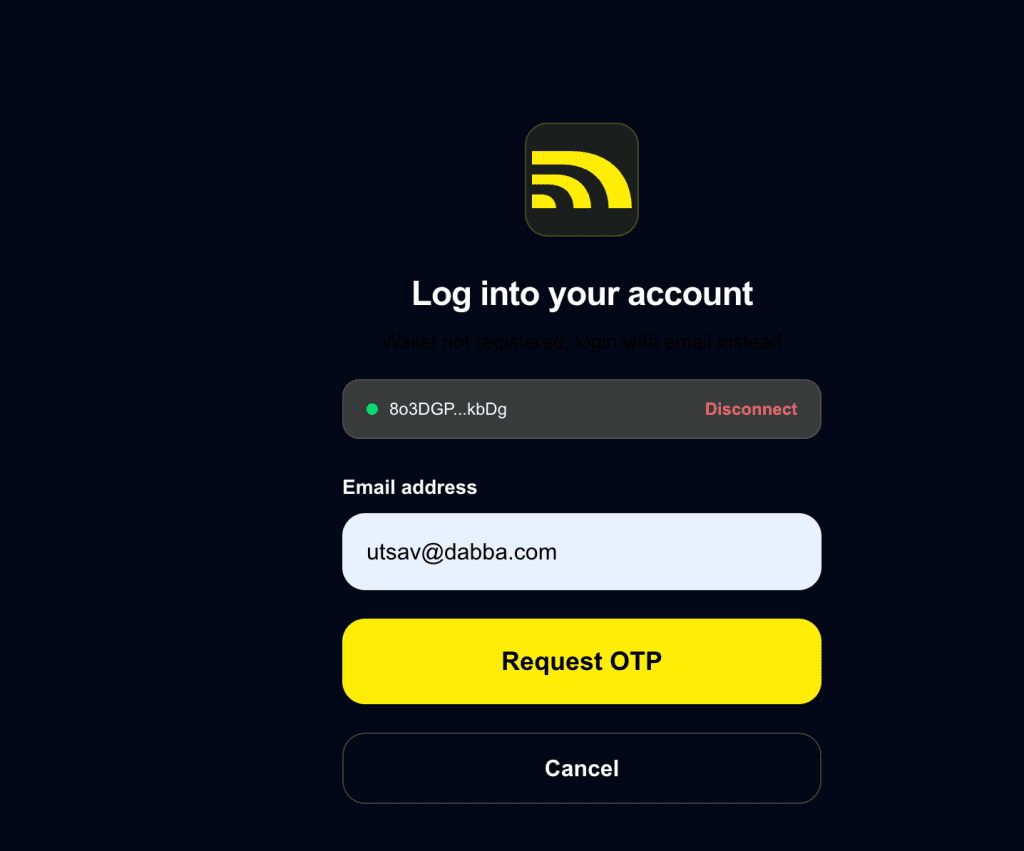
Step 7
Click “Request OTP” and enter the OTP sent to your registered email.
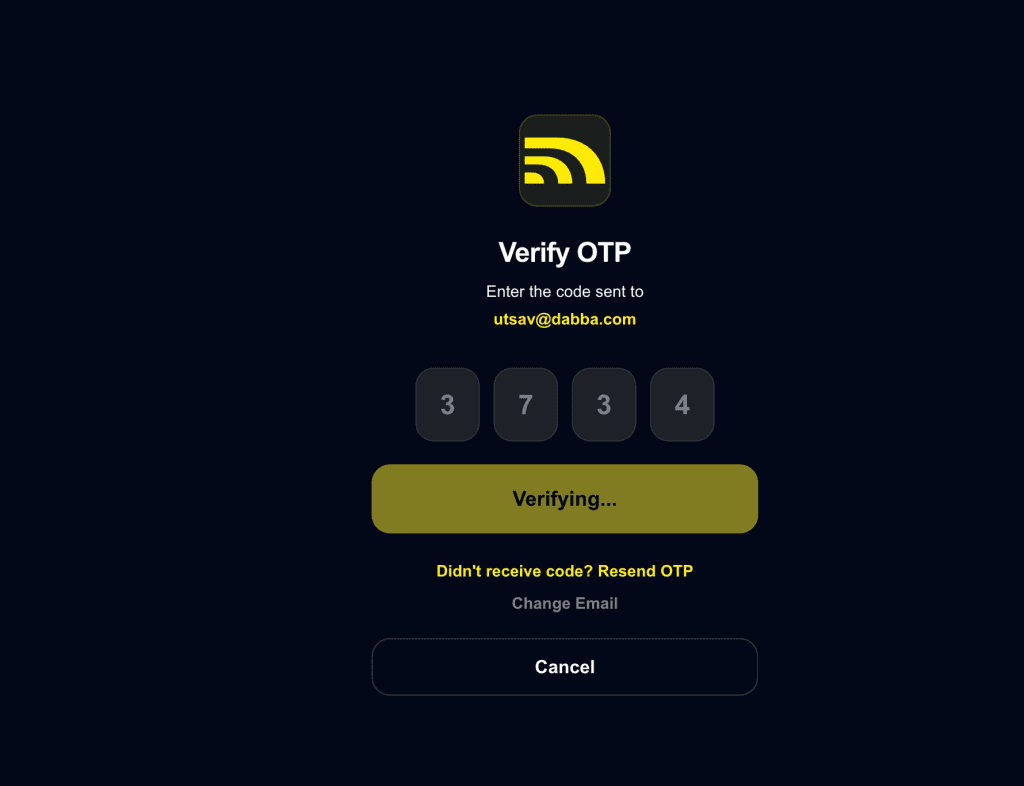
Step 8
Confirm your sign-up after OTP verification.
Step 9
You’re all set.
You’ll now see your dashboard where you can:
- Track rewards earned by your onboarded hotspots
- Stake your unlocked DBT
- Manage your Network (Mint and lock your hotspots)
Managing Your Network on Dabba Mainnet
Now let’s walk through what happens when you click “Manage Your Network” on your Dabba Mainnet home screen.
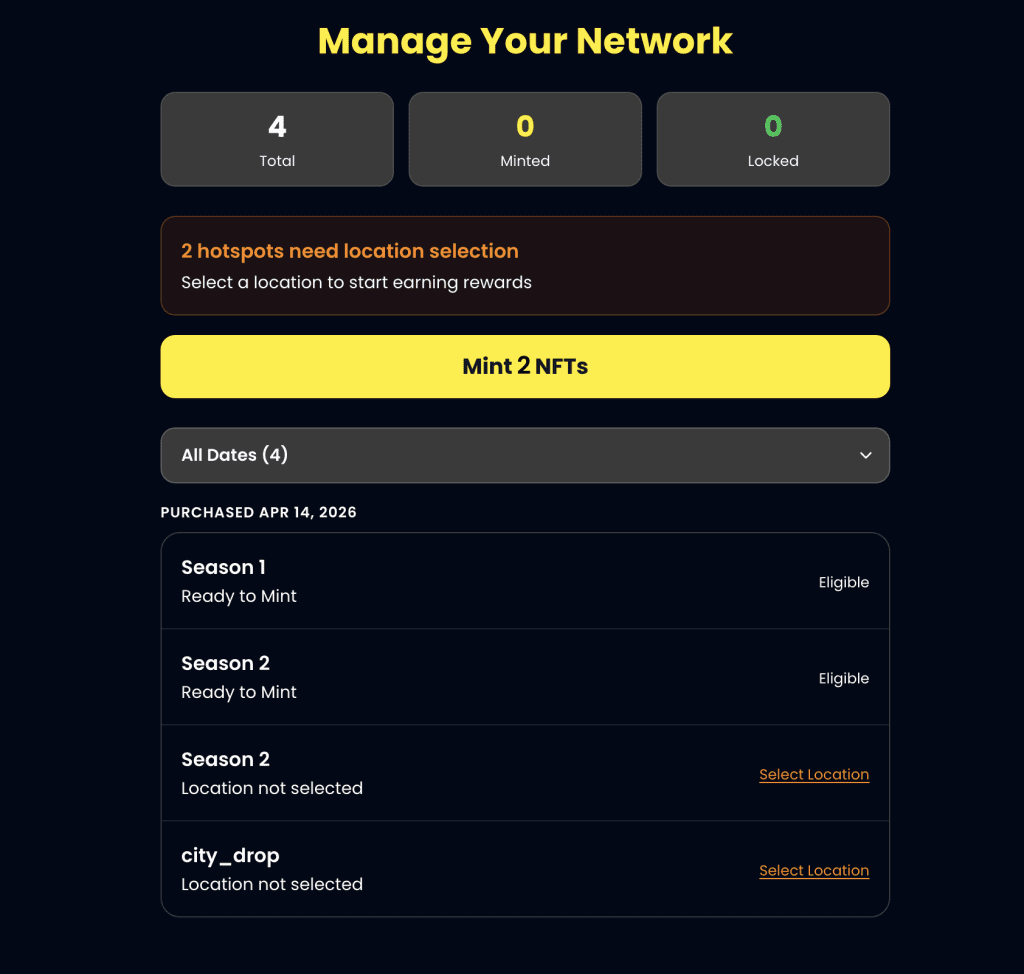
You’ll be taken to the Hotspot NFT Manager, where you can mint your Dabba Hotspot NFT — an immutable certificate representing your hotspot ownership.
Here, you can:
→ View all your hotspot ownership details
→ See how many hotspots are eligible for NFT minting
As you see, I have 4 hotspots in total. Of these I have one bought in Season 1, 2 bought in Season 2 and 1 bought through the City_drop campaign.
My season 1 hotspot is ready to mint. One of my Season 2 hotspots is ready to mint but for one I have to select a location. Also, I have to select location for my hotspot from city_drop to make them eligible for minting.
So first I click on Mint NFTs:
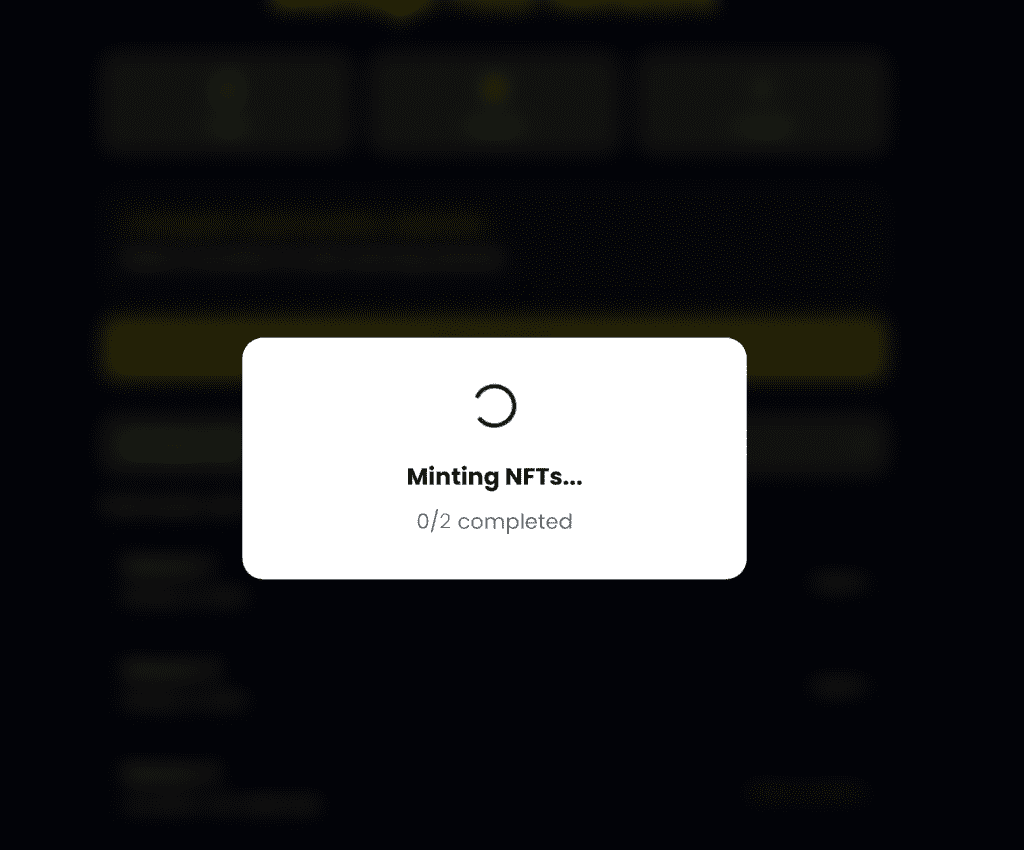
It takes a few seconds and with successful minting you will see the details updated:
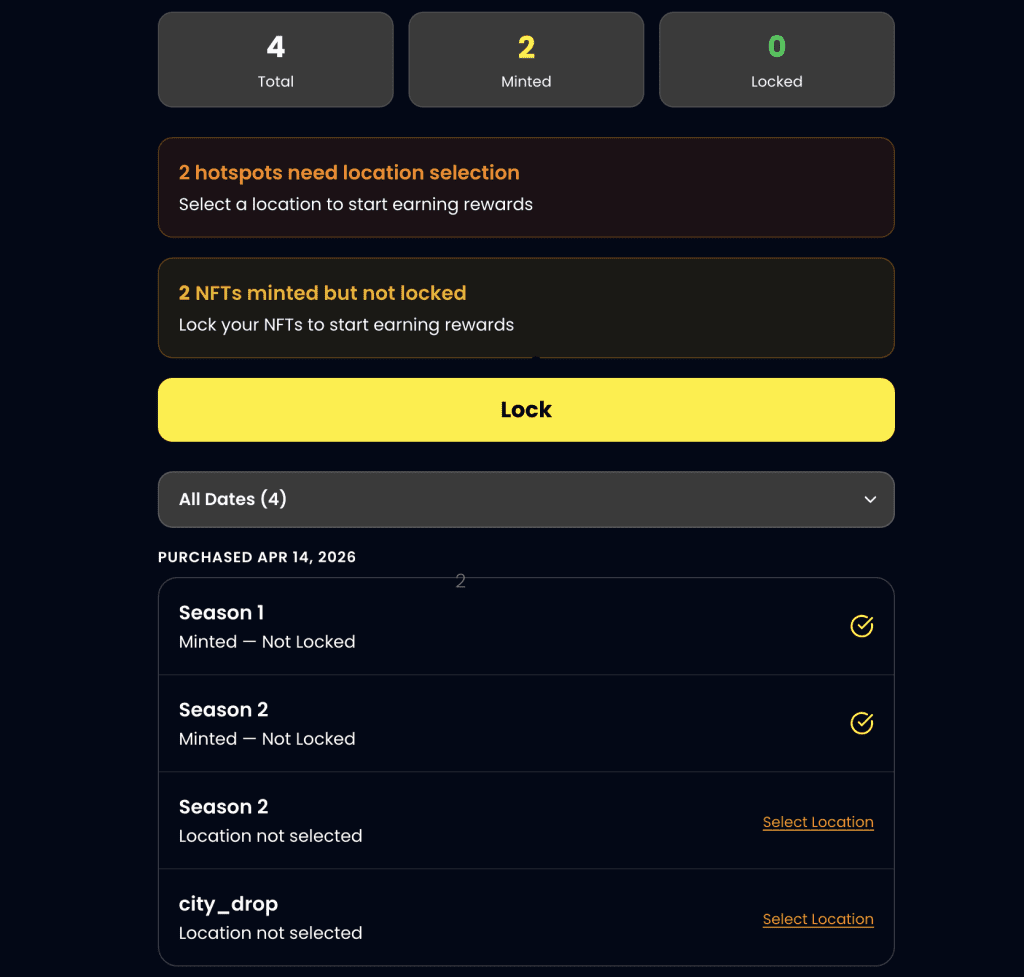
Now you see my 2 NFTs are minted but not locked and also it says 2 hotspots need location selection.
Once I click on select location. It takes me to the explorer dashboard where you have to login with your registered email address and select the location for your hotspot.
Also, I can lock my eligible hotspots by clicking on “Lock”
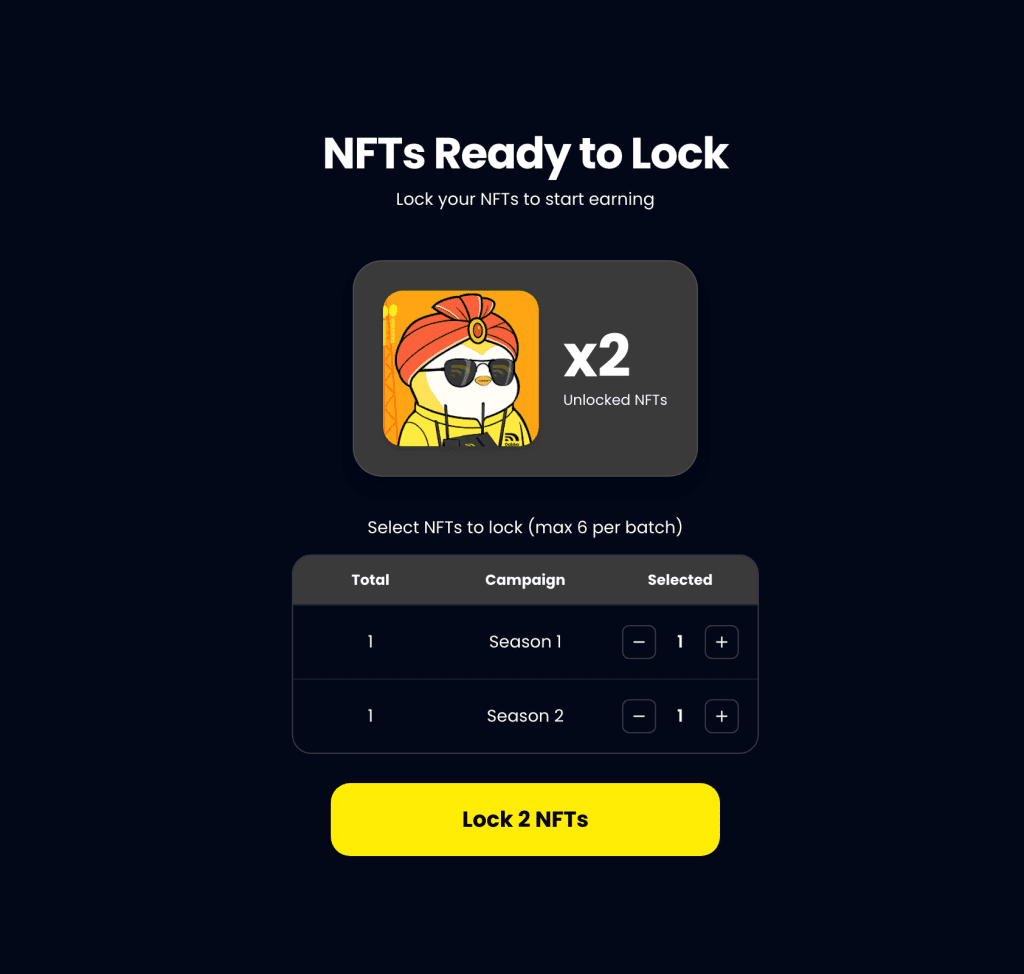
I see 2 of my hotspot NFTs are ready to Lock. So I click Lock 2 NFTs.
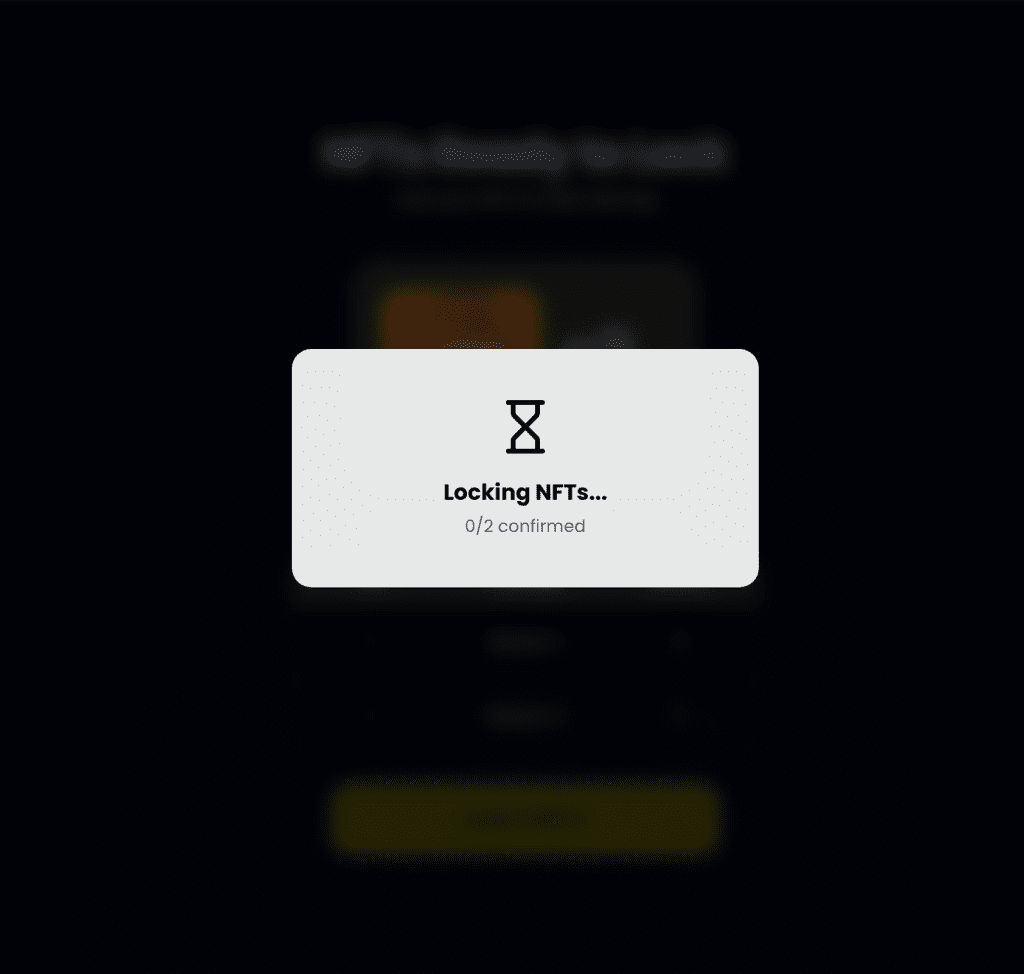
Once confirmed here’s how it shows
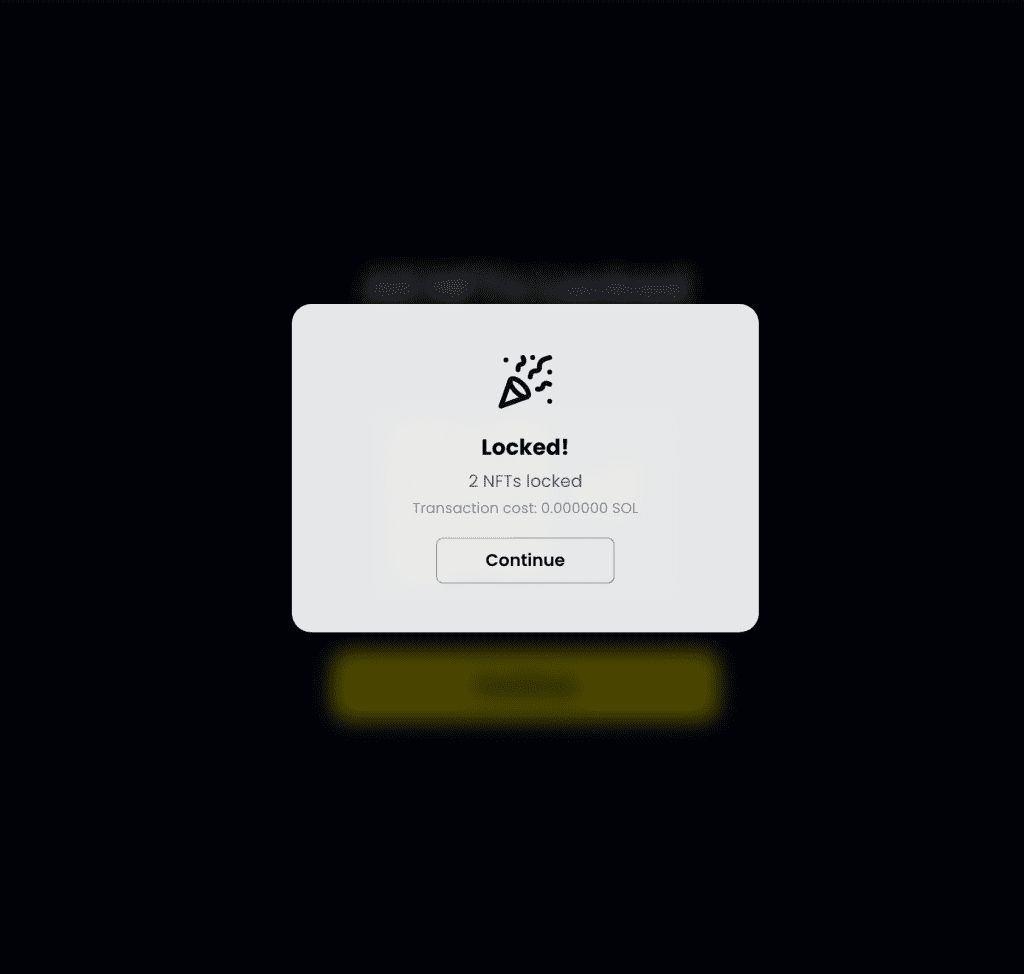
I click continue and it takes me to my dashboard where I can now see 2 of 4 NFTs are now locked.

That’s it! You’re Sorted.
Rewards Hub
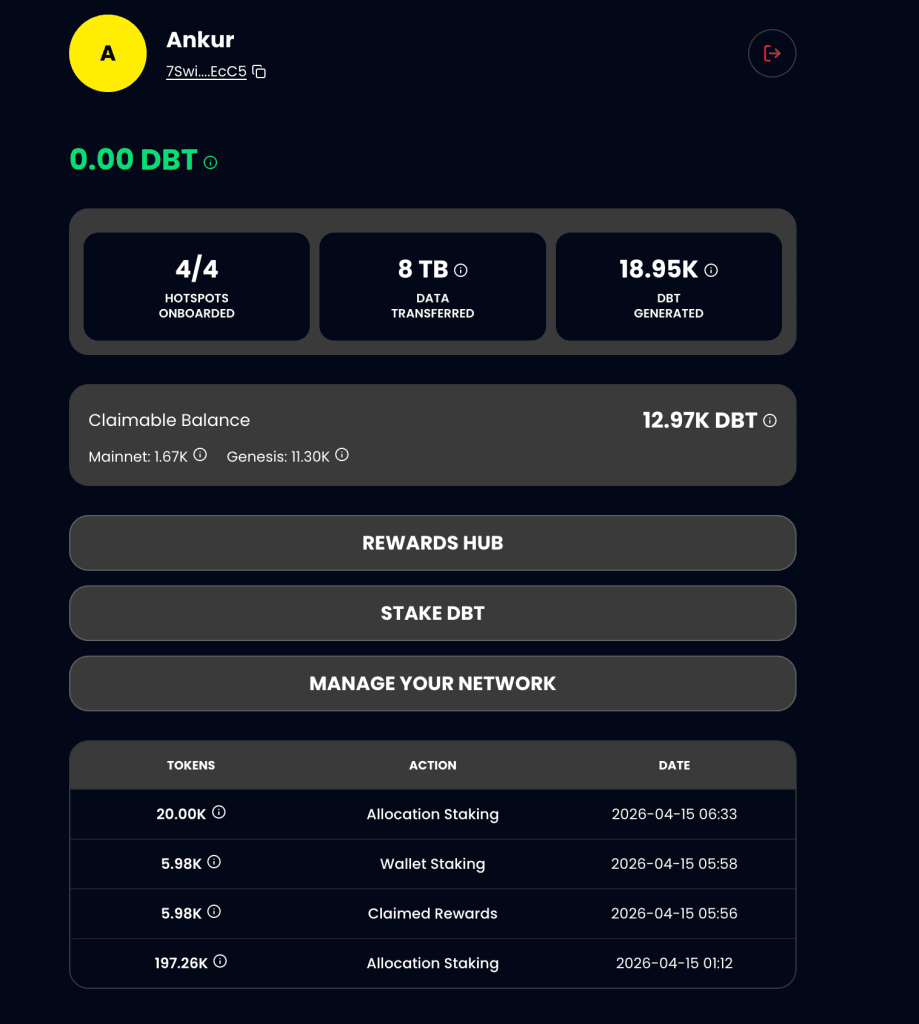
On your Dabba Mainnet Dashboard, you should also be able to check all your accrued rewards.
Here’s an example of how it would look if you had 4 hotspots and all were onboarded and clicked on Rewards Hub
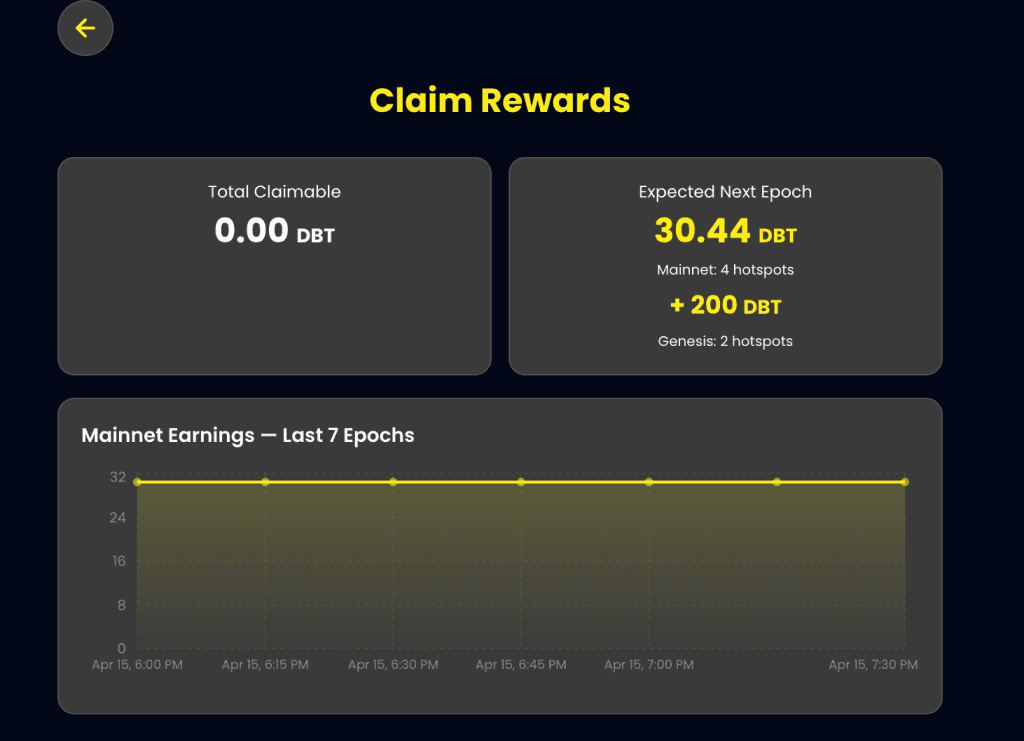
Once you click on Rewards Hub you will now see all your rewards including:
- Total Claimable Rewards with a full breakdown of their sources (Mainnet or Genesis)
- Expected Next Epoch Rewards
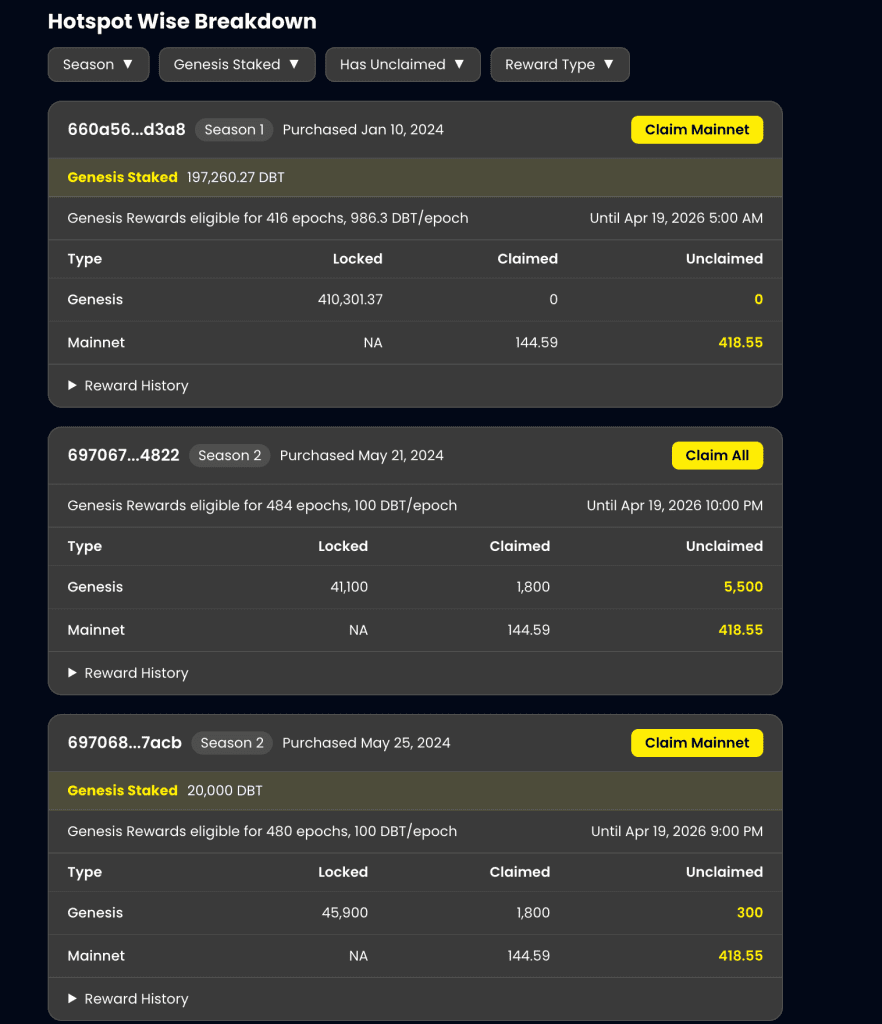
- A Hotspotwise Breakdown of all your rewards with key source metrics.
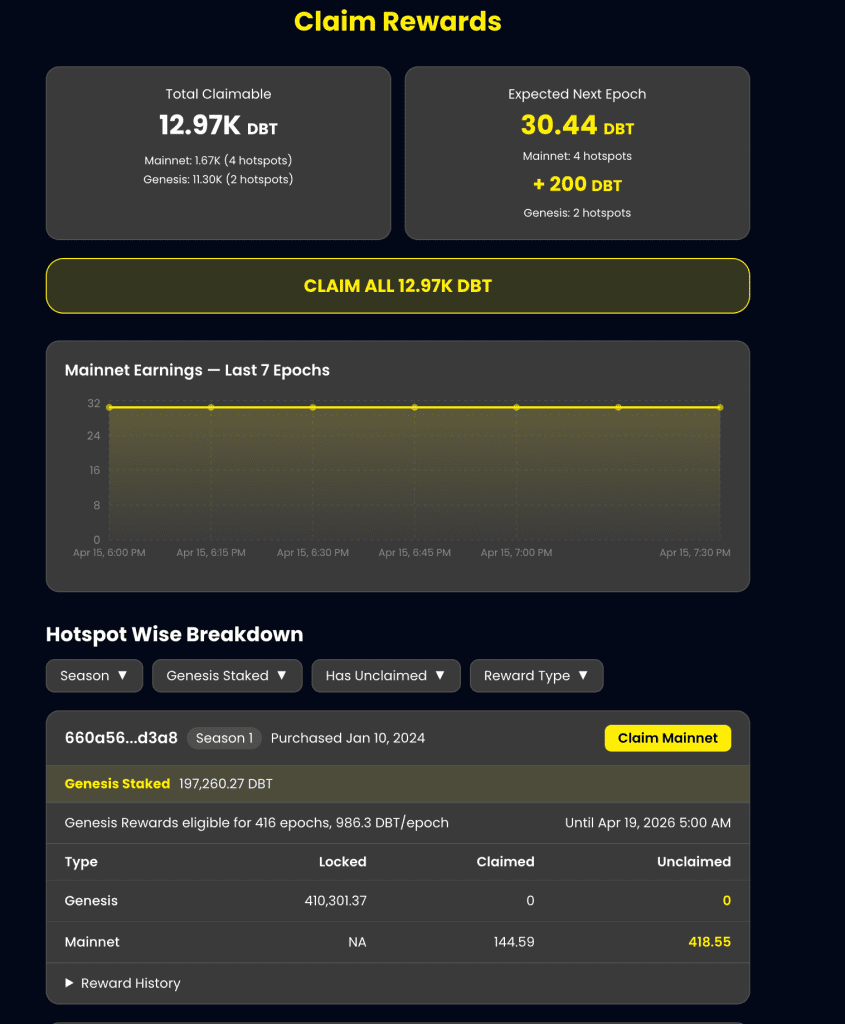
Also, detailed HotspotWise Breakdowns:
Stake DBT
Now let’s see how you can stake DBT. To get started click Stake DBT.

Once on the Staking Dashboard, you will be able to see three different options including:
- Wallet Staking: Stake DBTs in your wallet
- Allocation Staking: Stake Your Genesis Tokens
- My Stakes: Track all your staked DBT
Wallet Staking
Let’s get started with Wallet Staking:
As you see we don’t have any DBT currently in our wallet. It says available 0 DBT
So let’s go back to Rewards hub to check if I have any claimable DBT from rewards. As you see we have 12.97k DBT rewards which are claimable.

So let’s claim all 12.97k DBT.
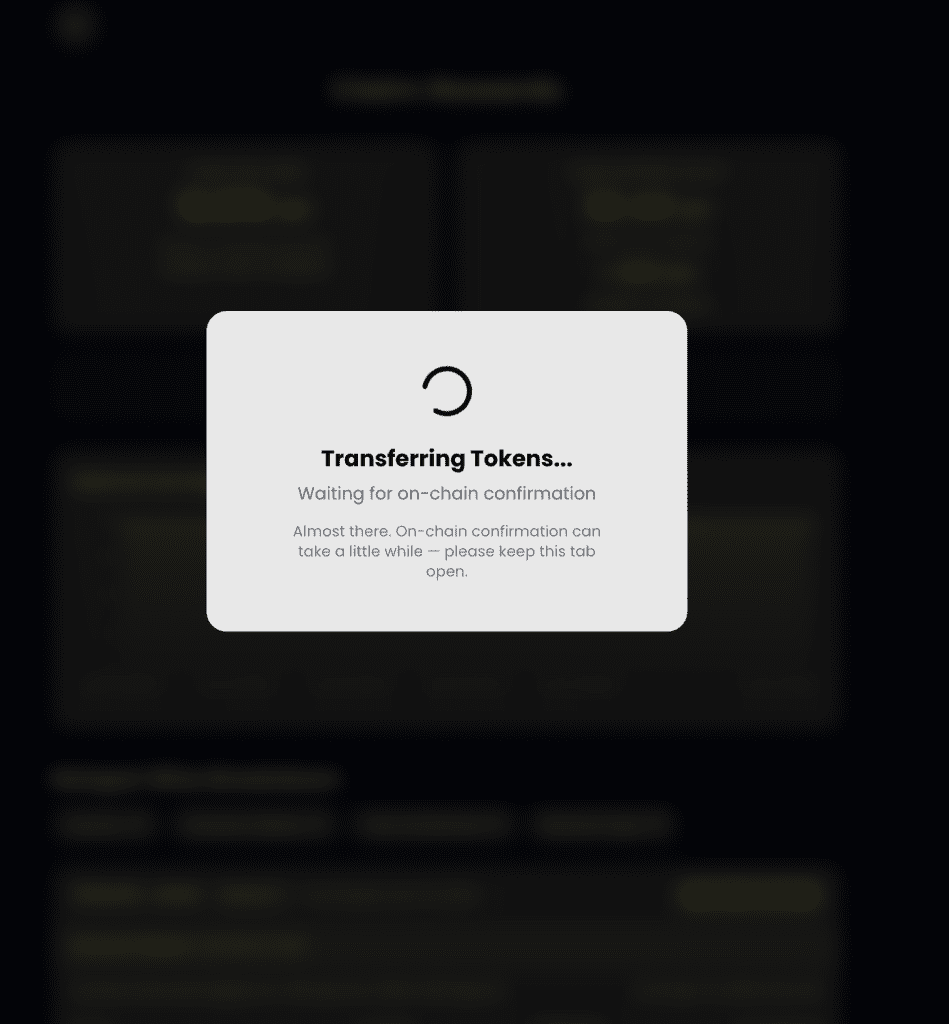
And, once claimed:
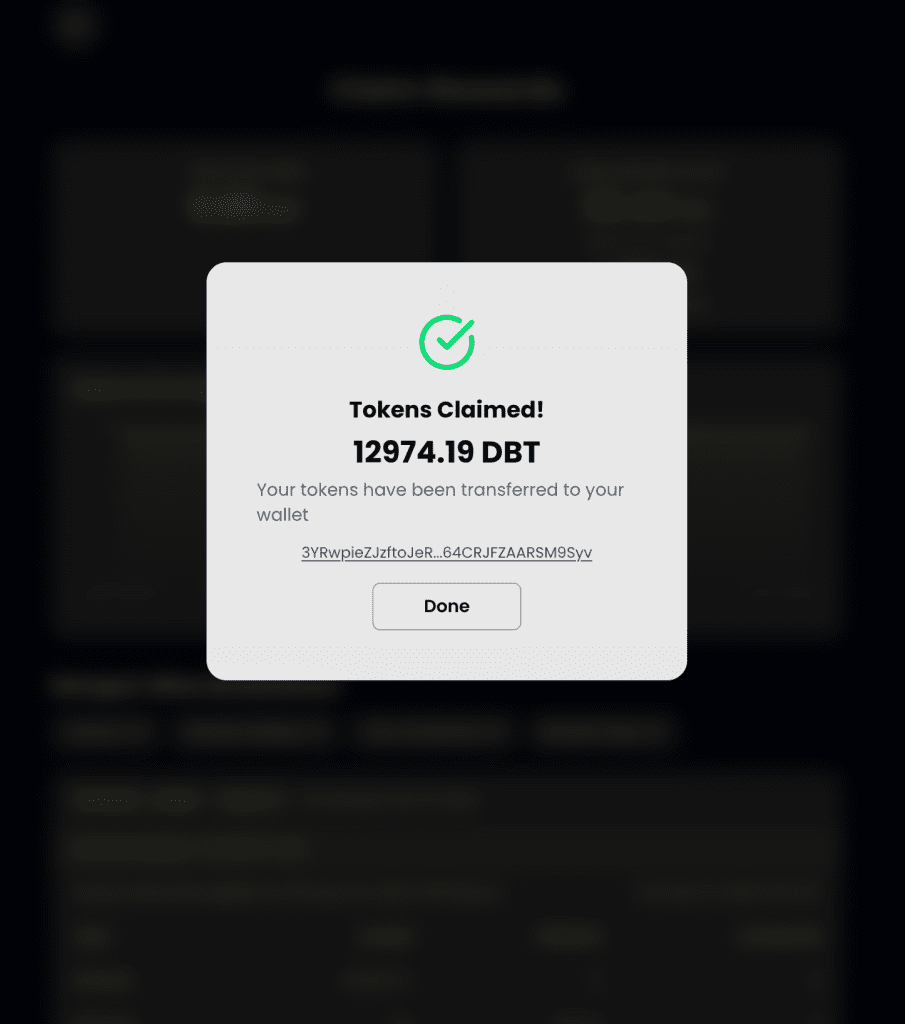
The tokens now get automatically transferred to your wallet.
And, now because I claimed all available DBT you can see Total Claimable DBT is Zero when I revisit the rewards hub page.
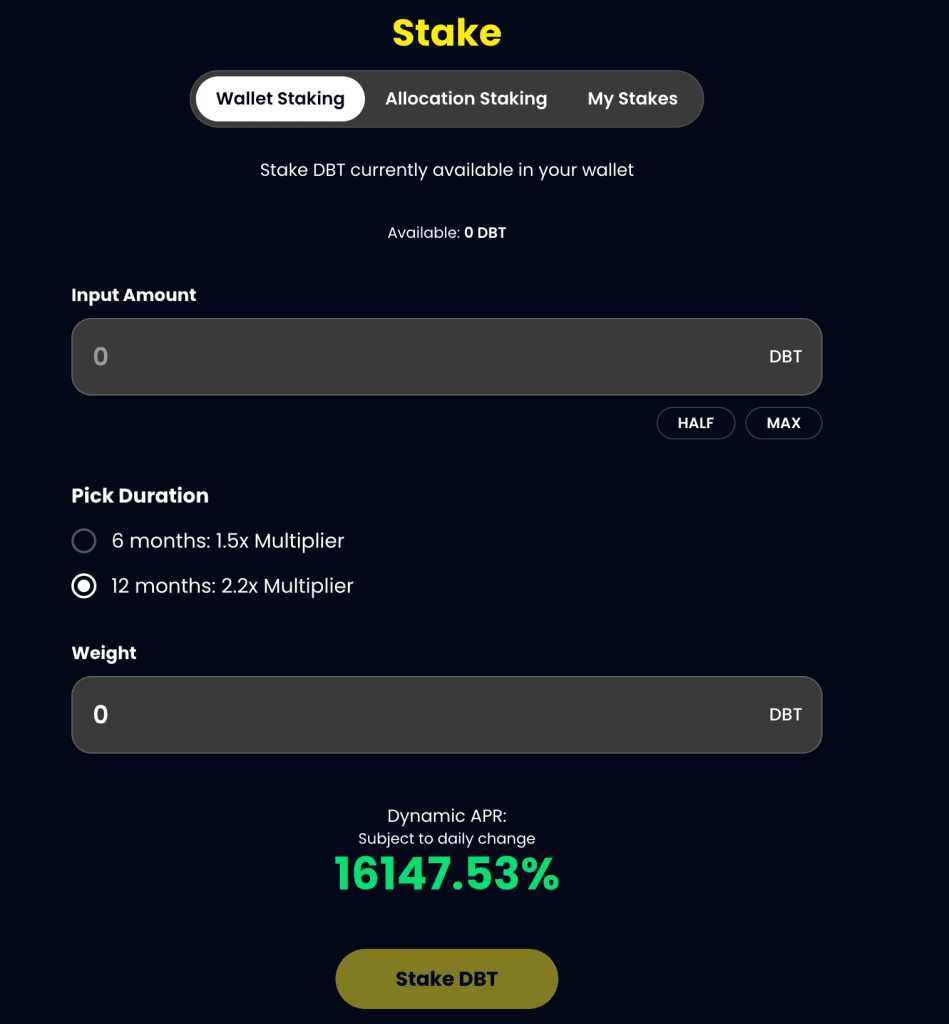
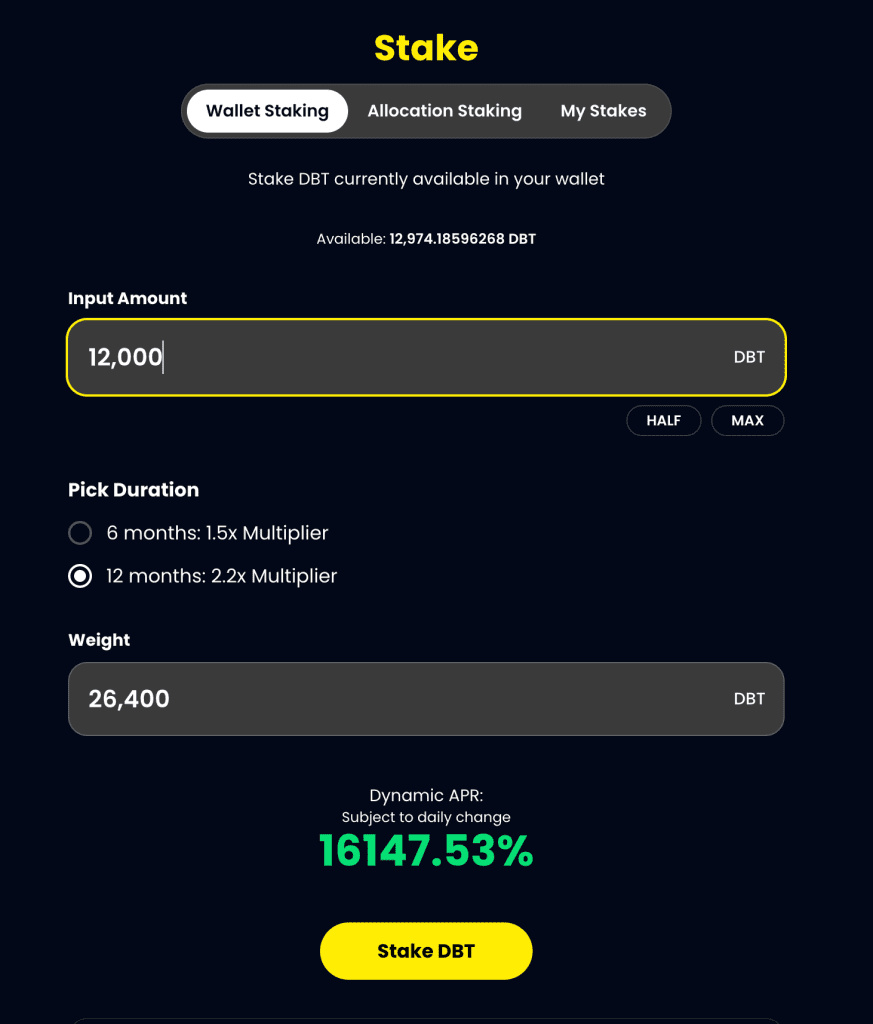
Now, let’s get back to Stake DBT and you see we have 12,974 DBT to stake.
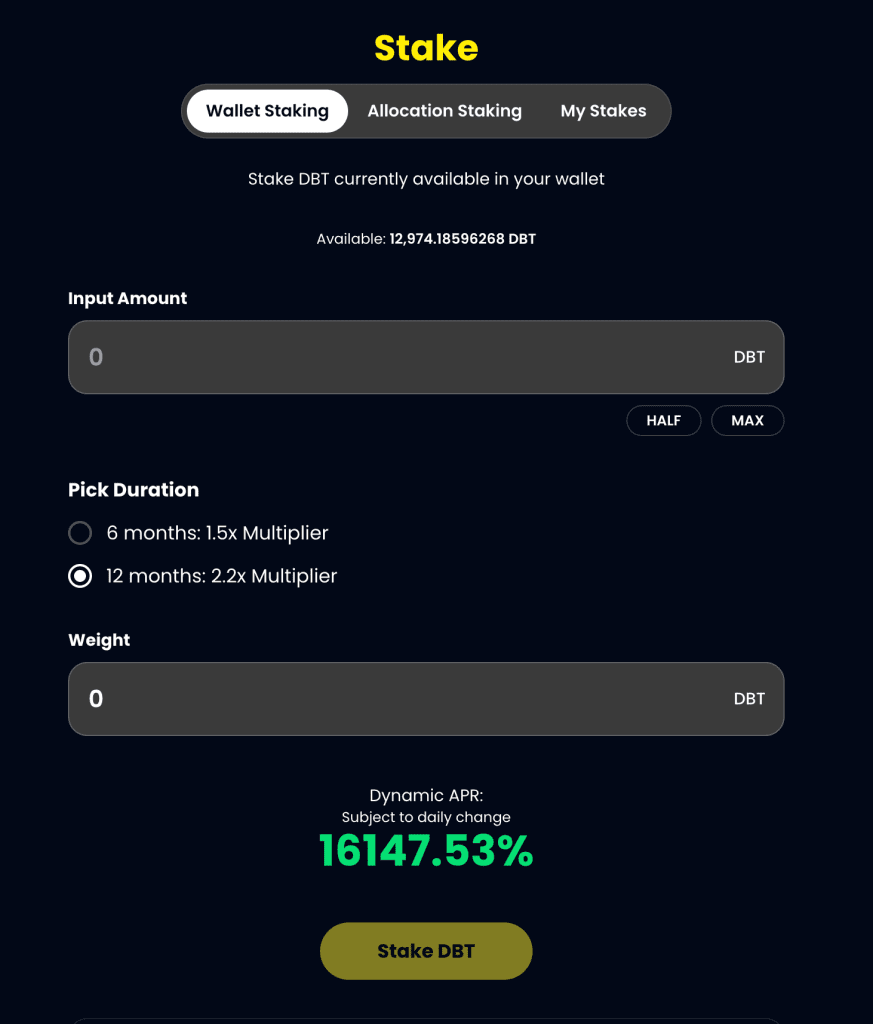
You can select the amount of DBT you want to stake, pick duration and with just one click stake your DBT. Let’s try to stake 12,000 DBT with a 2.2x multiplier for 12 months.
You can also see Dynamic APR which gives you an idea of your annual percentage return.
Once you click stake DBT it will take you to your wallet where you’ll have to confirm the transaction. Once confirmed you’ll see a Staking in Progress message on your screen.
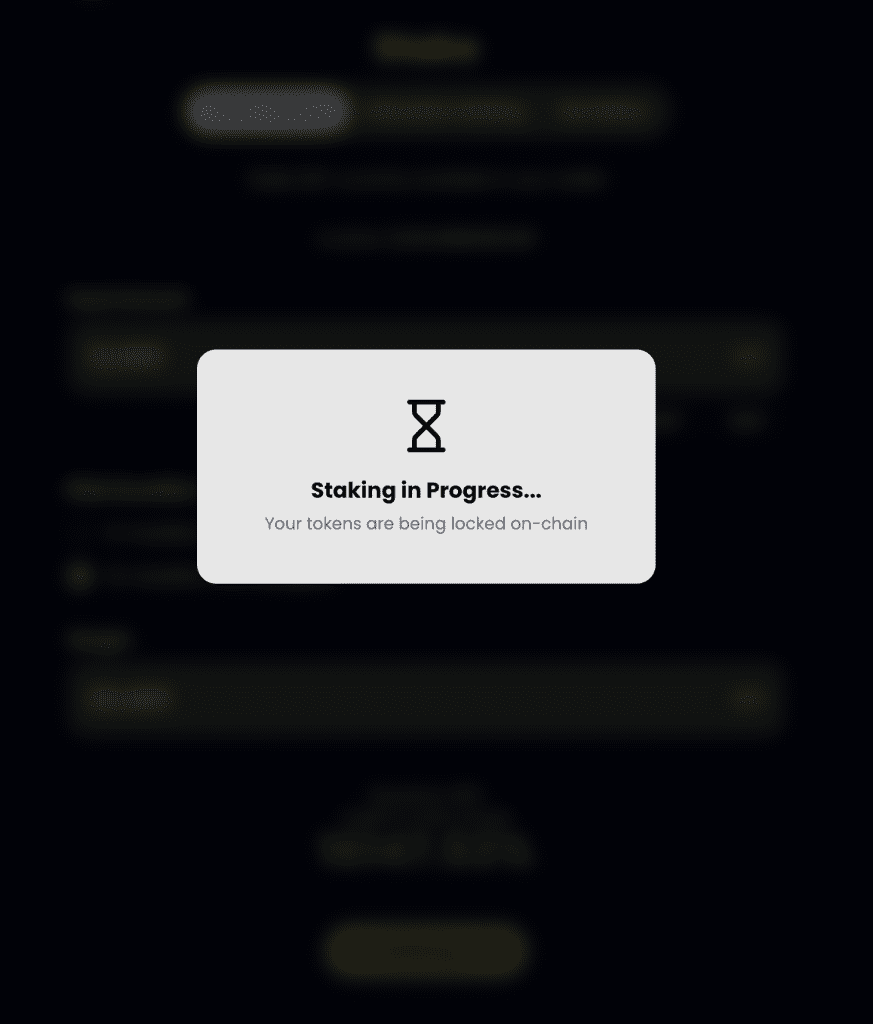
Once done you’ll get a Staking Success message.
Allocation Staking
You can stake your genesis rewards using Allocation Staking. Once you click Allocation Staking, you’ll see your hotspot ownership details.
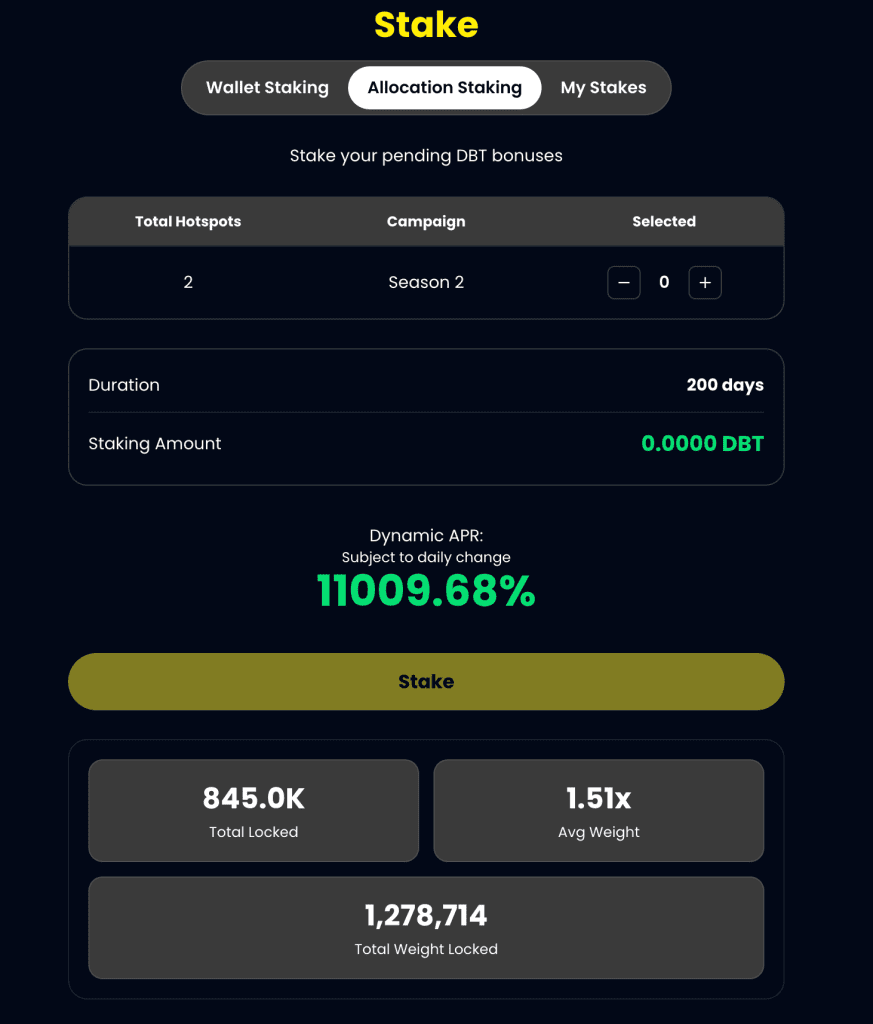
Currently, you see the Staking amount as 0.0000 DBT. Just click on + under selected on the top left. I select 2 hotspots which come with 20k DBT each. So now the total staking amount is 40.0k DBT.
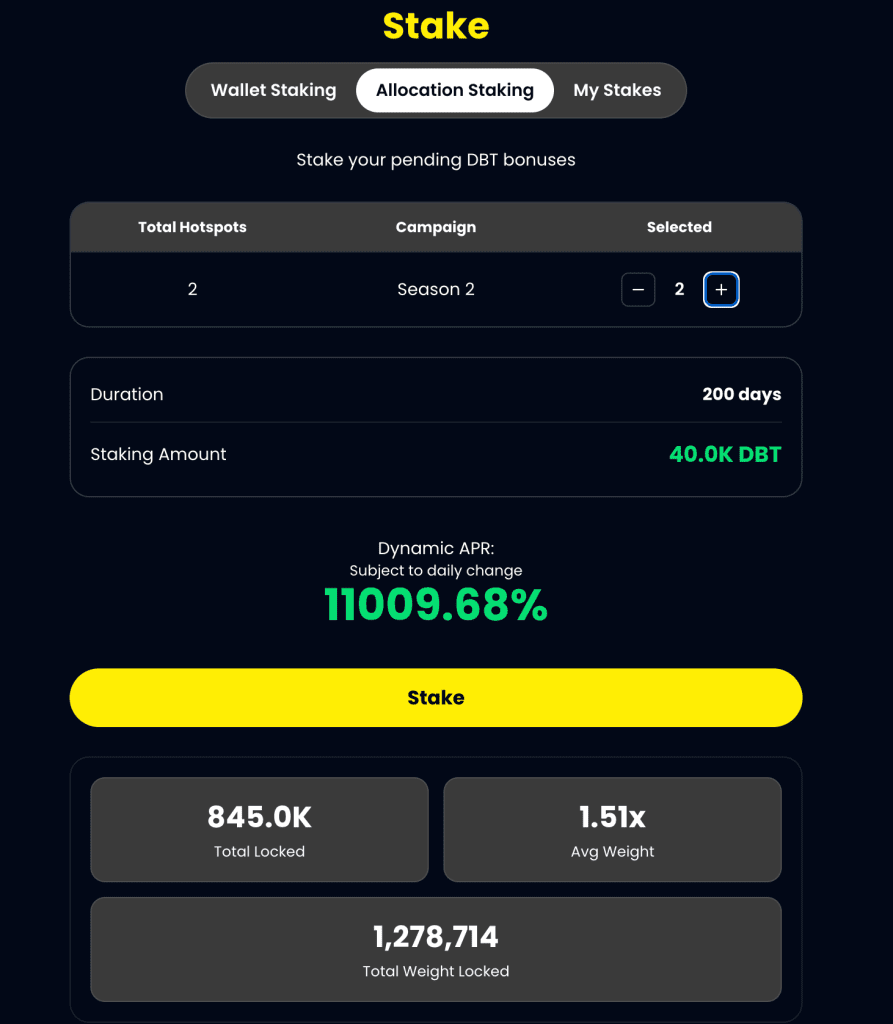
Click Stake and you should be able to Stake your genesis DBT.
My Stakes
Under My Staking, you should be able to see all your staking along with staking rewards.
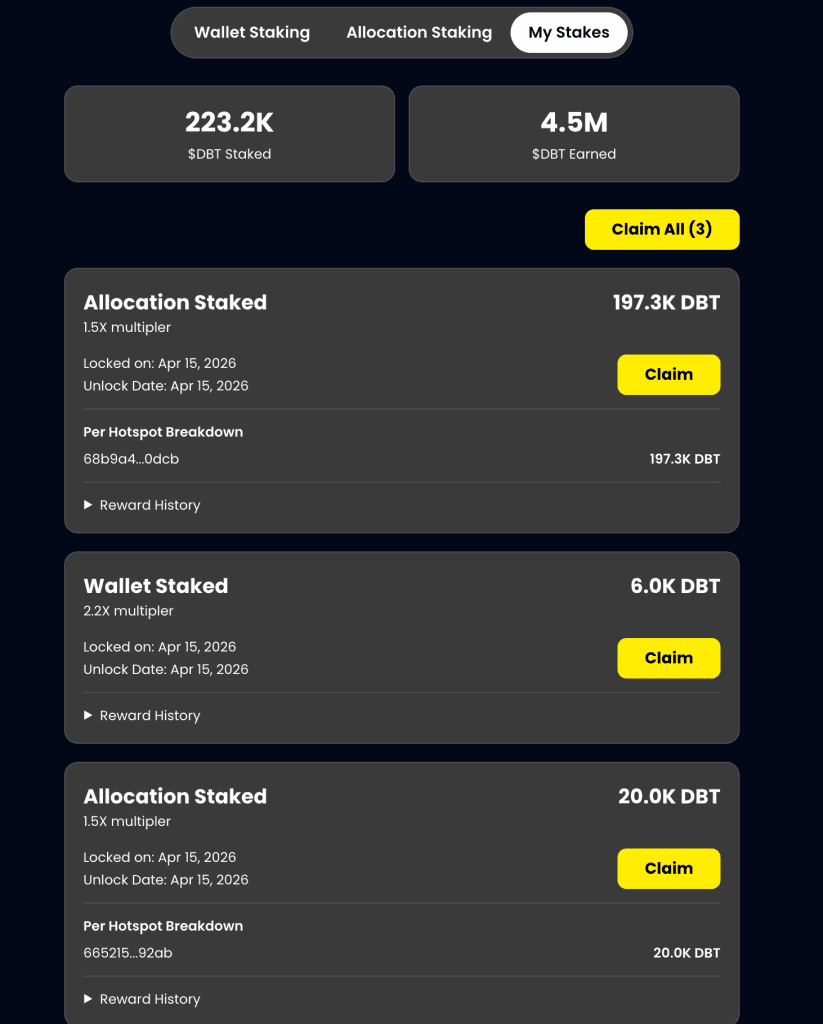
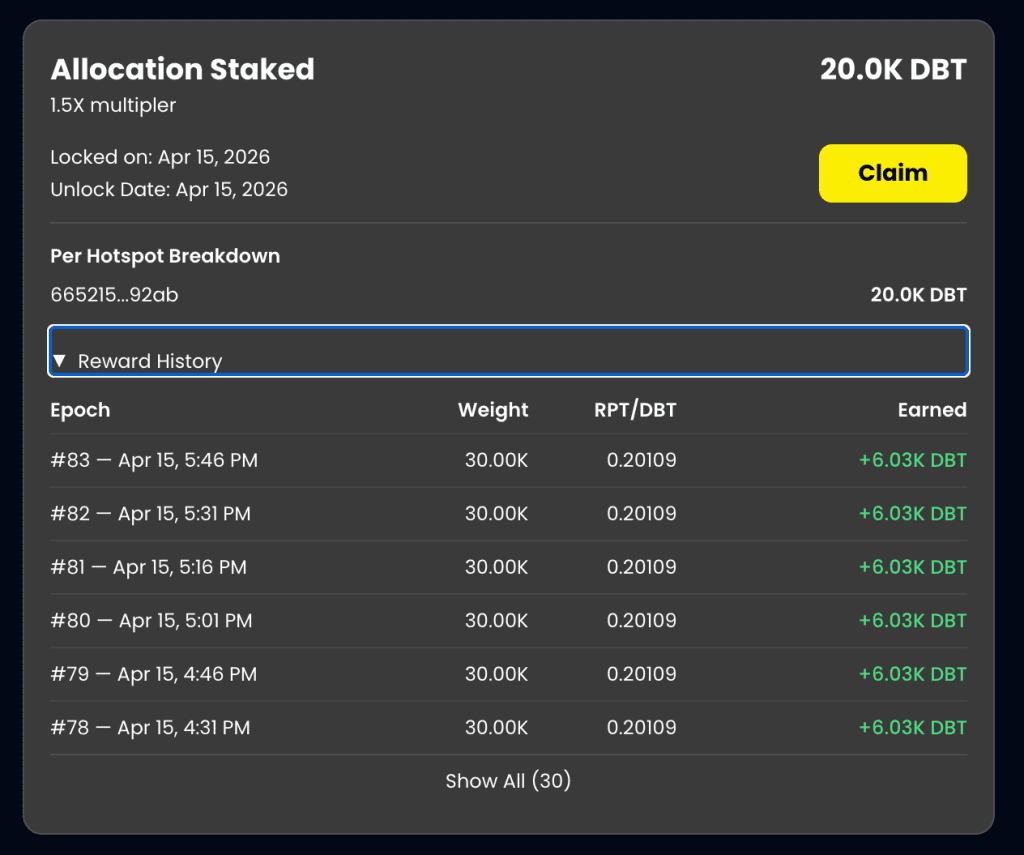
You can claim your stakes and also expand on rewards history to check the details of your staking rewards.
Understanding Wallet Staking vs Allocation Staking
On Dabba, there are two types of staking — and it’s important to know the difference:
→ Wallet Staking
Wallet staking refers to staking DBT tokens that are already in your wallet.
These tokens can come from:
→ Rewards you’ve claimed
→ Tokens you’ve purchased from the open market
Once in your wallet, you can choose to stake them to earn additional rewards.
→ Allocation Staking
Allocation staking is specific to hotspot owners.
This refers to staking your genesis rewards — the initial allocation tied to your hotspot.
→ These rewards are pre-assigned based on your hotspot
→ Only eligible for users who own and onboard hotspots
→ Key Difference
→ Wallet Staking = Tokens you own and control in your wallet
→ Allocation Staking = Tokens allocated to you via hotspot ownership
Both contribute to the network, but allocation staking is exclusive to hotspot owners, while wallet staking is open to anyone holding DBT.
And, that’s all… If you have any questions or concerns please feel free to reach out to us at hello@dabbanetwork.com .
With Dabba Mainnet now live, this is just the beginning.
You now have everything you need to get set up, onboard your devices, and start participating in the network. As always, take a moment to verify details, follow best practices, and move at your own pace.
The strength of Dabba comes from the community building it, one hotspot, one connection, one participant at a time.
And remember to stay safe, stay informed, and keep building with us.
More updates soon.